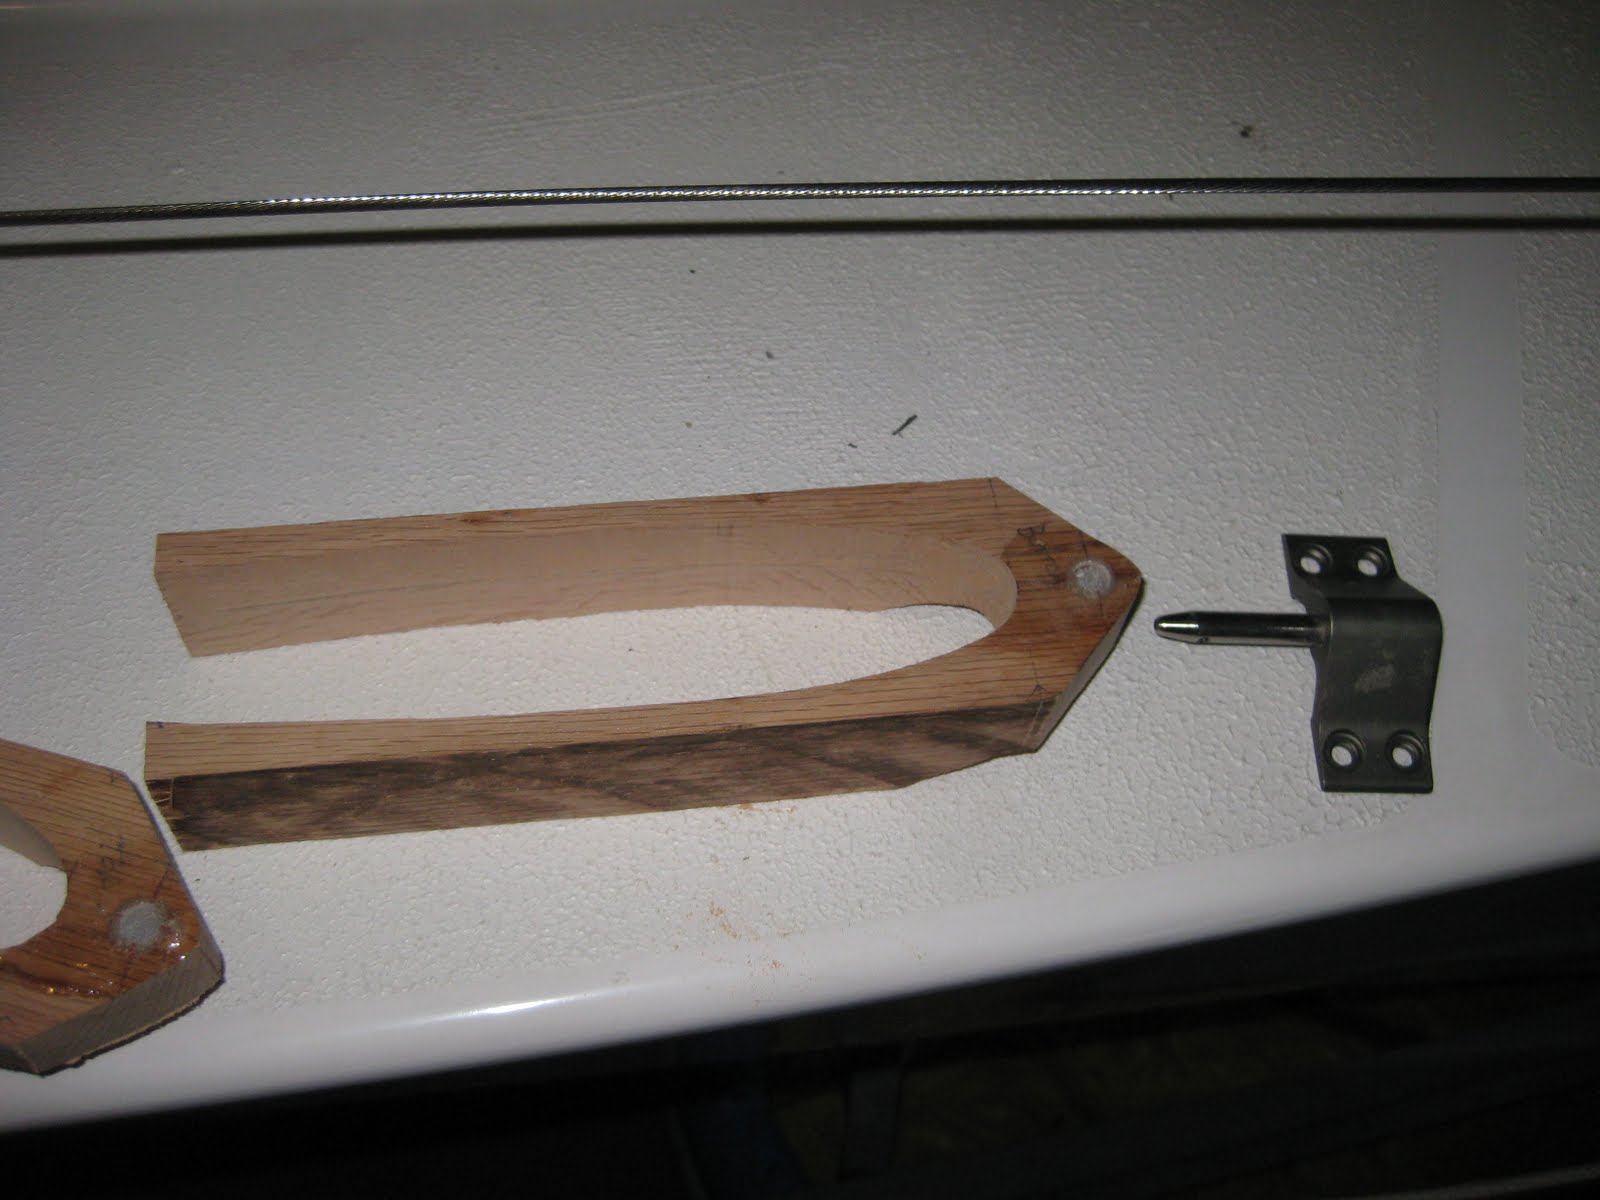
Sunday, June 21, 2009
Flip-Flopper
Saturday, June 20, 2009
Prime Time
Wow. It's really starting to come together now. Today I got a coat of primer (Interlux Pre-Kote) on the decks. A while back I thought it would be cool to keep a portion of the boat bright finished---that's varnished wood rather than painted wood for you boatbuilding neophytes :) . So before I primed the decks I masked off the cabin sides. Due to the presence of fiberglass tape and filler at the corners I had to leave 2" on the top and 4" on the bottom edge painted.
I'm still not sure I'm sold on it. What say you? Leave me a comment and let me know what you think---bright cabin sides or painted?
Well enough about paint. Tomorrow we flip to boat! First thing in the morning I'll need to get the chainplates installed (to secure lines to) and screw together a few 2x4s to attach to the cradle before the gang arrives to flip this little sucker.
Stay tuned!!
Jeff
Friday, June 19, 2009
Meet my maker
Monday, June 15, 2009
Dead Sexy
Going to try to get everything sanded this week and maybe get a coat of primer on the deck before we flip it next weekend.
Monday, May 25, 2009
Hit the deck!
This long holiday weekend was a tremendously productive one. Three solid days in "The Boatworks" show solid results. Saturday saw the side and forward decks getting glued down. In addition to gluing the deck edge, this required filleting and taping of the edges and bulkheads from the underside. Not the most pleasent work, but not unreasonable. I got about 80% of it done on Saturday by myself---I would have done more but ran short on biaxial tape. Decks are solid, though. Will get more biaxial tape this week week and finish 'er off.
I spent Sunday trimming the deck edges and giving them a nice round-over for hiking. The ½” radius ease to the deck edge looks really good. I first used a straight laminate cutter to trim up the deck edge even with the hull. Then ran my sander down the edge to make sure there weren’t any little epoxy bumps. Then used the ½” round over bit with my "custom" fence attached (below). I used the fence to prevent the router bit from taking too deep a “bite”, particularly in the aft sections of the hull. I ran the router over everything twice. I plan to smear some Microlight in a few spots and will finish with the longboard.
Today I spread a mess a of West System Microlight filler (No. 410) on the rail and cockpit floor. There were a few spots that needed a bit of "help". More sanding and filling tomorrow, but tonight we celebrate an actual boat! :)

Carbon Footprint
Yeah, my carbon footprint just got a bit bigger. And I couldn't be happier...
At long last, our carbon fiber rigs, booms, and spinnaker poles arrive from C-Tech, Ltd. in New Zealand. They are truly masterpieces. Kudos to Alex and coworkers at C-Tech. Below are a couple of samples of their caftsmanship.
Hot, right?
After recieving the carbon kit, the first order of business was getting the spinnaker pole receiver tube glassed in so I could get the deck put down. I calculated some rough numbers so that the pole would be centered when fully extended and then got to sawing. Sawing holes in a perfectly sound hull. Nice, eh?
Once I had rough-cut holes for the recieving tube in frame-018 and -110, I used a flashlight to project the profile of the required oblate hole onto the bow section.
After a bit of fine tuning of the bow hole, shocklingly, the math worked out and the pole was dead-center when fully extended!
On to the decking...
Companionway
I also slotted the side decks for the chainplates. If you lay the side decks in place and scribe a pencil line from underneath, you can carefully use your circular saw to plunge cut the slot. A little triming at the ends will let the 1/8" stainless chainplates slide into place nicely.
With business travel and a short trip for Traci and I to London for 5 days for a wedding, the Boatworks will be quiet for a bit. Stay tuned!
Sunday, April 19, 2009
Plaster of Disaster
Had a very busy, but productive, weekend. The title to this post alludes to the fact that I created the mold for the keel bulb. Eventually...
All told, I went through 75lbs of plaster and two 5-gallon buckets. One batch of plaster kicked-off in the bucket before I got into the trough. But I'm getting ahead of myself.
Back to the beginning: I started out by creating a plug for the bulb out of lightweight green floral foam. It's super easy to carve and shape. A detail palm sander w/ 220 grit paper works well---not too aggressive, but takes the material down reasonably well.
From there I wrapped the plug in saran and started to mix the plaster. It cures wicked quick, especially when you are working with 5 gallons (25lbs) worth of material. The lesson is: get everything ready an don't even think about pausing until your mold is done. You will definitely need a paddle mixer to attach to your drill (my first batch kicked off while I tried to fabricate one) and you will need a plan to weigh down the foam plugs while the plaster cures.
After a fair amount of spitting and swearing, the mold turned our reasonably well. I still need to add a dab of plaster here and there and try to fair the plug just a touch. But not bad overall.
Wednesday, April 8, 2009
Floored
I cut one 3" x 8' strip and one 2.75" x 8' strip from a sheet of plywood for each benson. I clamped them even along the edge that would touch the cockpit floor and drilled holes for zip ties along the opposite, "uneven" edge.
After I laced them together, I ran them through the table saw at a 45 degree angle.
I then "unfolded" the two sides to make a 90 degree angle.
I traced end end pieces onto scraps of ply and spread a few filets to finish them off.
I also got the aft side decks glued down.
On to the chain plates, forward side decks and the keel bulb.
Stay tuned!!
Thursday, March 19, 2009
More on storage boxes
The boxes are about 8" deep (inboard-to- outboard). I built the first one at 18" long and then decided I want the other one a bit bigger so I made that one 20" long. The longer one got glass in on the port side since there will be few feet more spin sheet in there while gonig up wind.
The bottom of the box is parallel to the cockpit floor so water should drain aft. As you can see in the second pic, the top and bottom are not parallel---the bottom is slanted slightly inboard to facilitate draining to the rear inboard corner.
The opening is 5" x 11". I doubled up the edge with some 1"-wide scrap to provide a little added stiffness.
The other benefit I hope to get from these is added support under the cockpit sides where the crew will be sitting.
Jeff

